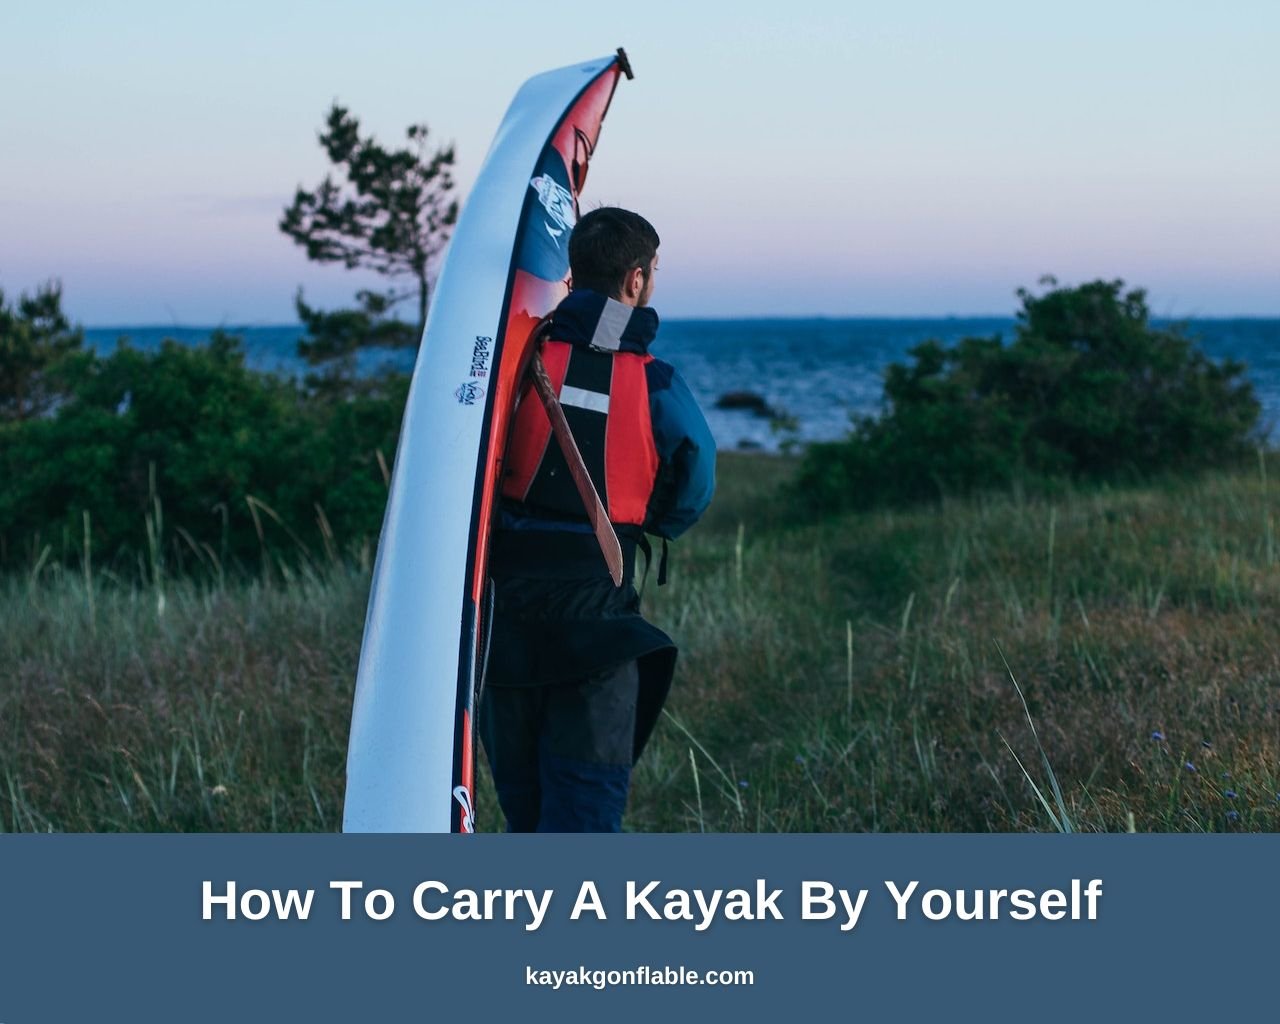
Comment transporter un kayak seul
Le kayak est un sport de pagaie amusant dont la popularité est montée en flèche ces dernières années. À mesure que ce sport devient de plus en plus populaire, de plus en plus de personnes se dirigent vers l'eau à la recherche d'un moment amusant, relaxant et parfois exaltant sur l'eau.
Que vous soyez propriétaire du kayak que vous utilisez ou que vous empruntez, il y a un obstacle qui se dresse généralement entre vous et votre aventure en kayak, et c'est transporter le kayak.
On ne peut s'amuser en pagayant que si le kayak est dans l'eau, et le plus souvent, il faut parcourir un long chemin avec le kayak avant de pouvoir se lancer dans son aventure en pagayage.
Il existe plusieurs façons de transporter des kayaks d’un endroit à un autre, mais une chose commune à toutes est de transporter le kayak.
Que vous utilisiez une voiture, un camion ou chariot à kayak, vous devez soulever le kayak à une certaine distance au-dessus du sol avant de le charger sur le mécanisme de transport, et cela peut être dangereux si vous manquez de savoir-faire.
En raison du poids et de la forme des kayaks, leur transport nécessite certaines connaissances et une certaine conscience de la sécurité si votre voyage ne sera pas écourté parce que vous vous êtes blessé en transportant votre kayak ou avez endommagé le bateau. Tout ce qu’il faut savoir pour soulever et transporter un kayak par vous-même est donné dans cet article.
Ce qu'il faut savoir avant d'essayer de soulever un kayak
Le transport de kayaks fait partie intégrante, bien que peu amusante, de la vie d'un kayakiste, surtout s'il aime faire du kayak dans de nouveaux plans d'eau pour élargir ses horizons.
Il existe plusieurs façons d'acheminer les kayaks d'un point A à un point B pour rendre la tâche aussi simple que possible, même si elles comportent toutes certains risques, comme le risque de blessures.
La tâche de transporter un kayak est généralement facilitée lorsque vous avez plus de personnes à aider ou que votre kayak est conçu pour résoudre ces problèmes, mais vous ne pouvez pas toujours avoir quelqu'un pour vous aider.
La première chose à noter avant de tenter de soulever un kayak est son poids. Cela peut paraître anodin au premier abord, mais vous remarquerez que cela devient très important, surtout lorsqu'il faut soulever le kayak à hauteur d'épaule avant de le charger sur le véhicule.
En fonction du poids de votre kayak, le soulever seul peut ne pas être conseillé pour des raisons de sécurité, et il est préférable de vous procurer un produit d'assistance au levage de kayak pour vous sortir des ennuis.
Si vous n'avez pas d'appareil de levage à portée de main et que vous possédez un kayak particulièrement lourd, vous devriez demander à quelqu'un autour de vous de vous aider à soulever le yak du sol.
Assurez-vous d'expliquer ce qui est attendu d'eux s'ils sont déjà des kayakistes, et tout devrait bien se passer. Même après avoir pris en compte le poids, il pourrait y avoir des blessures si vous ne tenez pas compte de la longueur du kayak. Cela est particulièrement vrai si vous portez un kayak sur votre épaule dans un endroit bondé et que vous devez faire demi-tour.
Toute légère erreur pourrait entraîner des blessures graves à toute personne assez malheureuse pour se trouver à proximité ou des dommages sérieux à la fois à votre kayak et à l'objet que vous heurtez.
Une autre chose à considérer est votre taille et la hauteur à laquelle vous allez charger le kayak. Si vous êtes assez grand, soulever le kayak jusqu'à votre épaule devrait être suffisamment haut pour le charger sur la plupart des véhicules, mais ce n'est pas toujours le cas.
La hauteur à laquelle vous allez charger le kayak est cruciale car plus le kayak est lourd, plus il sera difficile à soulever. Si vous vivez seul ou si vous n'avez personne à portée de main pour vous aider à soulever votre kayak, en particulier si vous possédez un véhicule de grande taille, envisagez d'investir dans des dispositifs d'assistance au levage de kayak, car ceux-ci nécessitent généralement que vous souleviez le kayak à la hauteur de la taille, vous épargnant ainsi l'effort de soulever le kayak plus haut.
Des moyens faciles de transporter un kayak
L’humanité aime naturellement les chemins les moins exigeants, et si vous ne possédez pas déjà de kayak, vous pourriez vous demander : « Est-il possible d’obtenir un kayak qui répond à mes besoins et qui est également facile à transporter ?
Si vous appartenez à cette catégorie, ne vous inquiétez plus car la réponse à votre problème est oui, il existe des moyens d'alléger ce fardeau fastidieux. La première solution est d'opter pour un kayak léger.
Le poids du yack est de loin le critère le plus dangereux car plus le kayak est haut lorsqu'il tombe, plus les risques de blessures potentielles pour les personnes à proximité et également plus les risques d'endommagement du kayak sont grands.
Posséder un kayak léger et robuste élimine le problème de poids et vous permet de transporter facilement votre kayak d'un endroit à un autre.
Dans un souci de légèreté, une autre solution consiste à opter pour un kayak gonflable. Ces yacks sont les plus faciles à transporter car ils peuvent être simplement dégonflés, puis rangés dans un sac à dos et jetés dans le coffre de la voiture.
Ils présentent également l’avantage d’éliminer le problème de ranger votre kayak. La prochaine solution simple consiste à éliminer complètement le transport et le levage.
Comme vous l'avez peut-être deviné, il s'agit de la méthode la plus limitée, car elle est d'abord mieux mise en œuvre sur des kayaks en plastique et ne doit pas être tentée sur des yacks légers comme les kayaks en fibre de verre ou en composite.
Cette option consiste à faire glisser le kayak jusqu'à votre destination prévue. Il ne doit cependant être utilisé que sur des terrains herbeux ou sablonneux, car d'autres terrains seraient hostiles au kayak et pourraient endommager sa coque et sa quille.
L'utilisation de chariots à kayak peut également faciliter le transport des kayaks, notamment sur de longues distances.
Le problème ici est de s'assurer d'abord que le kayak Chariot peut supporter le poids qui lui est appliqué, puis assurez-vous que le kayak est fixé au chariot pour l'empêcher de bouger.
La fixation du kayak au chariot doit faire l'objet d'une grande attention, en particulier si le chariot n'est pas équipé de ventouses pour minimiser les mouvements.
Les dispositifs de levage de kayak peuvent également rendre la vie beaucoup plus facile en réduisant la pression exercée sur votre corps chaque fois que vous devez charger et décharger votre kayak de votre véhicule. Il en existe plusieurs types et marques, alors assurez-vous de faire les recherches appropriées avant d’en choisir un.
Conseil: Votre vêtement de flottaison individuel (VFI) peut faciliter le levage de votre kayak.
Tout ce que vous avez à faire est de vous assurer que vous le portez, surtout lorsque vous devez soulever le kayak jusqu'à votre épaule et il fournira un coussin ou un rembourrage à votre épaule en supportant le poids du kayak.
De cette façon, vous pouvez minimiser la pression sur votre épaule et être en meilleure santé.
Comment soulever un kayak sur une voiture
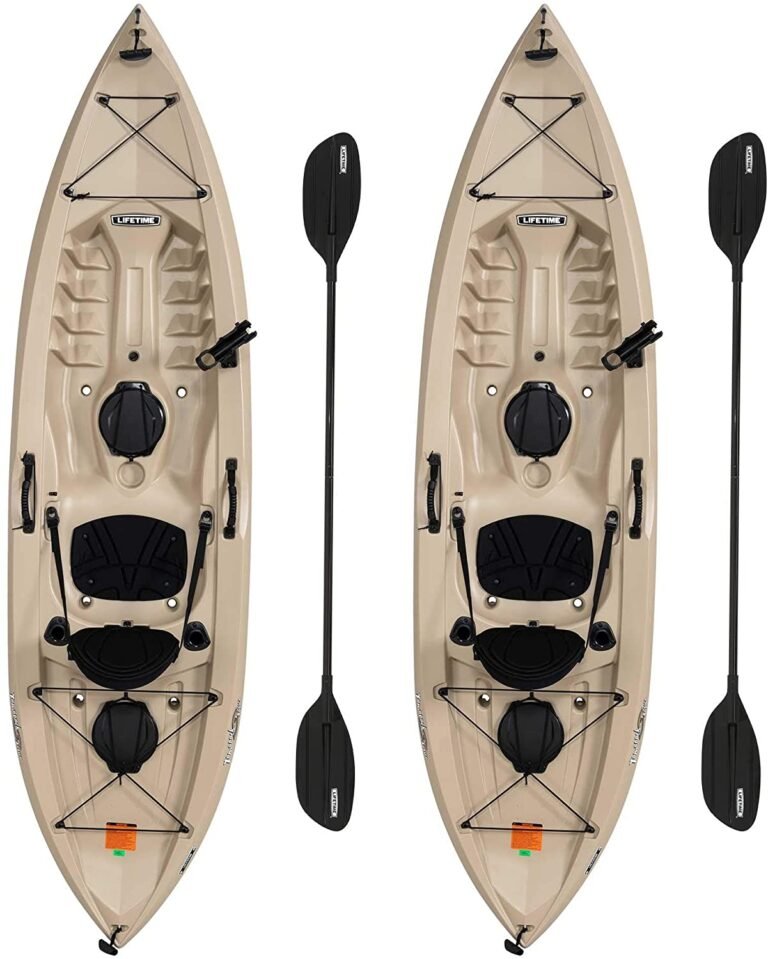
De tous les moyens de transport des kayaks, les voitures sont peut-être les plus courantes, la plupart des kayakistes équipant l'extérieur de leur véhicule de porte-kayaks.
Savoir comment soulever et charger votre kayak en toute sécurité sur votre véhicule ne peut donc pas être surestimé, car un manque de prudence et de savoir-faire pourrait entraîner des dommages à votre kayak et à votre véhicule, ou aux deux, ou des blessures encore plus graves.
Avoir quelqu'un à proximité pour aider au chargement peut être d'une grande aide, mais il existe également plusieurs dispositifs d'assistance au levage des kayaks permettant aux rangers solitaires de charger leurs kayaks dans leur véhicule sans soucis.
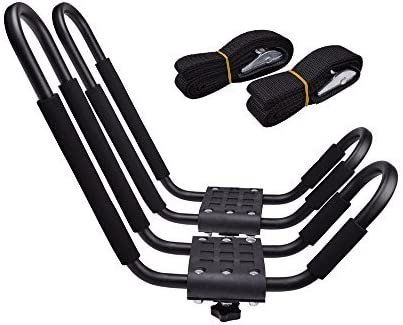
Assurez-vous d'utiliser la galerie de toit la mieux adaptée à votre véhicule, puis chargez le kayak de la manière la plus sûre possible.
Il existe plusieurs produits pour protéger le kayak et le véhicule, comme les nouilles de piscine qui agissent comme un dispositif roulant pour protéger à la fois la coque de votre kayak et le toit de votre voiture, alors assurez-vous de vous renseigner et d'obtenir des produits abordables pour vous assurer que votre kayak et le véhicule résistent tous deux à l’épreuve du temps.
Une fois chargé sur votre galerie de toit, vous devez sécuriser le kayak avec des sangles, de préférence des sangles à came. Les sangles sont généralement fixées aux barres transversales du toit de la voiture, mais si votre voiture n'en possède pas, assurez-vous que le kayak est fixé à quelque chose de solide.
L'objectif est de sécuriser le kayak de telle sorte que les sangles soient suffisamment serrées pour restreindre les mouvements, mais pas trop serrées au risque d'endommager le kayak. La proue et la poupe du kayak doivent également être sécurisées.
Les lignes de proue et de poupe doivent être utilisées pour fixer le kayak à l'avant et à l'arrière de la voiture afin d'être sûr que le kayak ne bougera pas à moins que vous ne le desserriez.
Si tu as plusieurs kayaks à transporter sur la galerie de toit, vous devrez répéter la procédure en vous assurant que chaque kayak est sécurisé de manière à ce qu'il ne puisse pas bouger.
N'oubliez pas d'attacher toute extrémité libre ou libre des sangles lorsque vous avez terminé et de vérifier votre travail avant de vous lancer dans votre voyage. Conduisez en toute sécurité et de manière responsable jusqu’à votre destination.
Comment soulever un kayak par vous-même
Si vous êtes amateur de kayak, vous vous retrouverez tôt ou tard dans une position où vous devrez soulever votre kayak tout seul, et savoir comment le faire en toute sécurité vous évitera bien des ennuis.
Il est donc impératif que tous les kayakistes apprennent à soulever eux-mêmes leur embarcation en toute sécurité dans un environnement contrôlé avant de devoir le faire en temps réel.
N'oubliez pas que la pratique rend parfait, alors assurez-vous de vous entraîner à soulever votre kayak de temps en temps, même après avoir maîtrisé la technique, afin de ne pas vous rouiller. Les étapes pour soulever vous-même un kayak en toute sécurité sont indiquées ci-dessous.
Étape 1 : Préparez-vous
Cette étape consiste à vous positionner, vous et votre kayak, pour le levage imminent. Le kayak doit être positionné horizontalement devant vous avec la proue tournée vers la direction dans laquelle vous avez l'intention de vous déplacer et de soulever le kayak.
Si la proue est à votre gauche, vous porterez le kayak sur votre épaule droite. Mais si la proue est à votre droite, vous porterez le kayak sur votre épaule gauche.
Si vous privilégiez une épaule plutôt que l’autre, il vous suffit de passer de l’autre côté du yak et le tour est joué. Vous devriez vous tenir à côté du cockpit.
Ensuite, faites rouler le kayak de manière à ce que le cockpit soit tourné vers vous et assurez-vous que vous êtes au centre du kayak. Ceci permet de s'assurer que le kayak n'est pas déséquilibré et ne risque pas de tomber de votre épaule s'il atteint cette hauteur.
Si vous utilisez un appareil de levage, cette étape n'est peut-être pas nécessaire, mais il est préférable d'être préparé car vous ne savez pas quand vous n'aurez pas accès à votre aide au levage.
Étape 2 : Utilisez vos jambes
Une fois positionné, vous êtes prêt à soulever le kayak. La première chose à faire à ce stade est de plier les genoux et de se mettre en position accroupie.
Vous devez ensuite poser vos mains sur le rebord du cockpit le plus proche de vous et soulever le kayak sur vos cuisses.
Cela implique de vous lever légèrement de votre position accroupie avec votre les genoux toujours fléchis et plaçant le kayak soigneusement sur vos cuisses. N'oubliez pas que vos cuisses supporteront le poids et garderont vos genoux pliés, et tout devrait bien se passer.
Une fois que le yak est en sécurité sur vos cuisses, passez immédiatement à l'étape 3 car rester dans cette position trop longtemps est inconfortable et pourrait vous amener à faire tomber le kayak et éventuellement à l'endommager ou à vous blesser.
Si vous vous sentez particulièrement fatigué ou peu sûr de votre capacité à soulever le kayak plus haut à ce stade, n'abandonnez pas. Remettez simplement le kayak au sol en toute sécurité, faites une pause et réessayez.
N'oubliez pas que vous vous entraînez pour la vraie affaire et que vous ne l'obtiendrez peut-être pas tout de suite. Une fois que vous êtes sûr de pouvoir le gérer, passez à l'étape 3 une fois le kayak sur vos cuisses.
Étape 3 : enrouler
C’est la dernière étape et sans doute la plus difficile. Avec vos genoux pliés et votre dos droit, atteignez l'autre côté du cockpit et saisissez le rebord avec vos paumes tournées vers le haut de telle sorte que le cockpit soit maintenant face à vous.
N'oubliez pas que la proue pointe dans la direction dans laquelle vous avez l'intention de voyager, la poupe est donc naturellement l'extrémité opposée. Soulevez maintenant le kayak en vous levant et faites-le rouler sur votre épaule de manière à ce que le rebord repose sur votre épaule dans une position confortable.
Essayez de stabiliser le kayak sur votre épaule et soyez attentif à votre environnement lorsque vous le déplacez vers sa destination prévue.
Si vous souhaitez le charger sur le toit d'une voiture, vous devriez pouvoir le faire une fois que le kayak est à hauteur d'épaule. Assurez-vous d'être prudent lorsque vous déposez le kayak sur la galerie de toit pour éviter tout dommage inutile.
Si tu veux portage du kayak de cette façon, il est préférable que votre kayak ne soit pas lourd et que vous ne parcouriez pas de longues distances, car transporter des kayaks peut être gênant et facilement fatiguant.
Comment 2 personnes devraient-elles soulever un kayak ?
Même si tous les kayakistes devraient savoir comment soulever un kayak seuls, il est indéniable qu'avoir un coup de main rend la tâche considérablement plus facile et moins éprouvante.
La première chose à noter ici est que les deux personnes qui portent le yak doivent faire face à la même direction, la direction dans laquelle elles ont l'intention de voyager et la proue du kayak doit également faire face à cette direction.
Le prochain facteur important lorsque deux personnes transportent un kayak est la communication et la synchronisation. Le kayakiste de tête, c'est-à-dire celui qui fait face à la direction du déplacement, doit transmettre tout ce qu'il voit à son partenaire afin qu'il puisse transporter le kayak en toute sécurité et éviter tous les obstacles jusqu'à sa destination.
La synchronisation est importante lors du levage et de la chute du kayak pour éviter qu'il ne soit endommagé. Lorsque deux personnes doivent transporter un kayak sur une courte distance, il leur suffit de positionner le kayak dans la direction où elles souhaitent aller et de saisir les poignées du kayak.
Ils doivent se positionner soit du même côté, soit alternativement, selon ce qui leur convient le mieux, la personne de tête saisissant la poignée avant tandis que l'autre saisit la poignée arrière du kayak, puis déplace le kayak vers sa destination prévue.
Deux kayaks peuvent être transportés ou portés en même temps de la même manière par deux kayakistes. Ils se placent simplement au milieu des kayaks, saisissent les poignées avant et arrière et transportent les kayaks jusqu'à leur destination.
Si vous avez l'intention de charger un kayak sur une galerie de toit, par exemple, la procédure de levage sera assez différente de celle expliquée ci-dessus. Les étapes à suivre pour que deux personnes puissent soulever un kayak en toute sécurité sont indiquées ci-dessous.
Étape 1 : Positionnez-vous
Après avoir trouvé un partenaire consentant, vous devez vous placer de manière à rendre le levage du kayak facile et efficace.
La bonne position consiste simplement à poser le kayak sur le sol, chacun de vous se tenant du même côté et face à l’embarcation. Vous devriez chacun être à chaque extrémité du kayak.
Étape 2 : Soulevez le kayak
Une fois dans la position appropriée, vous devez tous les deux plier les genoux tout en gardant le dos droit puis saisir la poignée la plus proche de vous. Après vous être assuré que vous tenez tous les deux une poignée, vous devez soulever le kayak en même temps.
Cela placera le kayak au niveau de la taille, suffisamment haut pour être chargé sur des dispositifs de levage qui feront le reste du travail à votre place. Si vous ne disposez pas d'un appareil de levage, passez à l'étape 3.
Étape 3 : Kayak au niveau des épaules
Si vous soulevez le kayak au niveau des épaules avant de le charger sur la voiture ou le camion, la différence de taille ne doit pas être si grande, à moins que vous ne soyez confronté à un autre ensemble de problèmes. Si vos hauteurs sont compatibles, vous pouvez franchir cette marche en toute sécurité.
N'oubliez pas de communiquer et de synchroniser vos mouvements, soulevez le kayak sur vos épaules. Comme chacun de vous est au bout du kayak, cela devrait être assez facile, vous avez donc maintenant la coque du kayak sur vos épaules.
Vous devriez pouvoir charger le kayak en toute sécurité sur une galerie de toit dans cette position. Soyez simplement attentif à votre environnement et gardez à l’esprit que le transporteur principal doit communiquer tous les obstacles à la personne à l’arrière, et tout ira bien.
Comment transporter soi-même un kayak assis
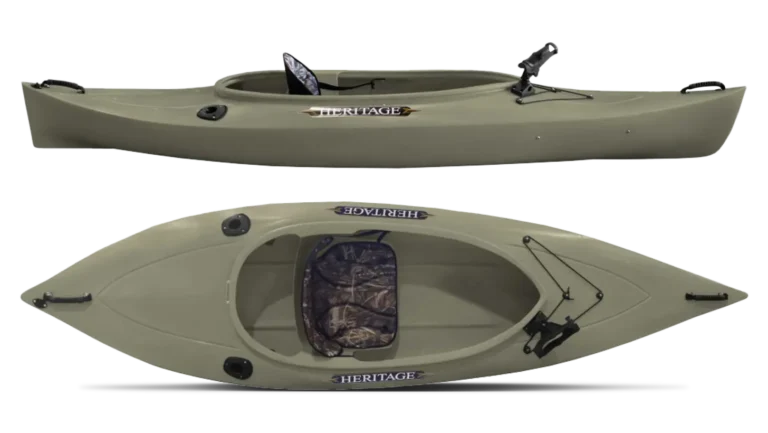
Les kayaks assis sur le dessus sont particulièrement populaires parmi les pêcheurs car ils constituent d’excellentes embarcations de pêche.
Cet avantage, cependant, s'accompagne de l'inconvénient d'être très lourd, nous allons donc examiner brièvement quelques façons de transporter un kayak sit-on-top.
Utiliser un chariot à kayak
L'une des meilleures façons de transporter votre kayak sit-on-top est d'investir dans un chariot ou un chariot à kayak, surtout si vous parcourez une longue distance.
De cette façon, il vous suffit de charger votre kayak sur le chariot et vous êtes prêt à partir. L’un des avantages d’avoir un chariot à kayak est qu’il facilite non seulement le transport de votre kayak, mais qu’il ne prend pas non plus beaucoup de place dans votre véhicule lorsque vous ne l’utilisez pas.
Un avantage supplémentaire est qu'il est généralement possible d'attacher votre chariot à la zone de stockage avant ou arrière de votre kayak, éliminant ainsi le besoin de retourner à votre voiture pour ranger le chariot, ce qui signifie que vous pouvez commencer à pagayer le plus tôt possible.
Utiliser une sangle de transport pour kayak
Un autre moyen simple de transporter un kayak sit-on-top consiste à utiliser des sangles. Naturellement, plusieurs sangles existent sur le marché, la méthode exacte d'utilisation de chaque sangle varie donc, mais la plupart peuvent être utilisées comme décrit ci-dessous.
Les sangles de transport pour kayak sont généralement conçues pour être enfilées dans les trous de dalot de votre kayak ou fixées autour de la coque du kayak.
Si votre sangle de transport est celle qui peut être enfilée dans les trous de dalot de votre kayak, la sangle avant sera enfilée dans l'un des trous de dalot vers la proue du kayak tandis que l'autre sera enfilée dans le trou de dalot vers la poupe. du kayak.
Pour enfiler les sangles dans les trous, placez le kayak sur l'un de ses plats-bords et contre un arbre ou sur le côté de votre véhicule.
Le trou de dalot dans lequel vous enfilez la sangle dépendra de votre taille. Le but est de transporter le kayak donc choisissez un trou qui permet de transporter le kayak facilement sans qu'il ne traîne sur le sol.
Serrez les sangles selon les instructions du fabricant et vous êtes prêt à partir. Pour transporter efficacement le kayak, placez les sangles sur l'épaule opposée au côté où se trouve le kayak. De cette façon, votre poids sera réparti plus uniformément sur tout votre corps.
Vous remarquerez que transporter un kayak seul, même s'il n'est pas particulièrement amusant, n'est pas aussi difficile qu'il y paraît. Avec un peu de pratique, vous pourrez charger votre kayak sur votre véhicule et aller à l'eau en un rien de temps.
N'oubliez pas de toujours utiliser un équipement et des techniques de sécurité appropriés lorsque vous manipulez votre kayak. Maintenant, sortez et profitez de la pagaie !