How To Load A Kayak On J Rack By Yourself
Kayaking is a popular and fun paddle sport open to people of all ages and fitness levels. The sport involves navigating a narrow watercraft called a kayak through a waterbody with a double-bladed paddle and is a great way to exercise and have fun.
As kayakers become more adept at the sport, they seek to broaden their horizons, and the only way to do that is to kayak in different water bodies to perfect their skills.
Even kayakers who are not worried about broadening their horizons more often than not have to get their vessels to the water, and that is what brings us to today’s topic.
Transporting kayaks is an integral part of the lives of many kayakers, and doing it right is of utmost importance. Naturally, several ways to safely transport kayaks have come about over the years, but perhaps the most famous of them is the use of a kayak roof rack to transport the watercraft.
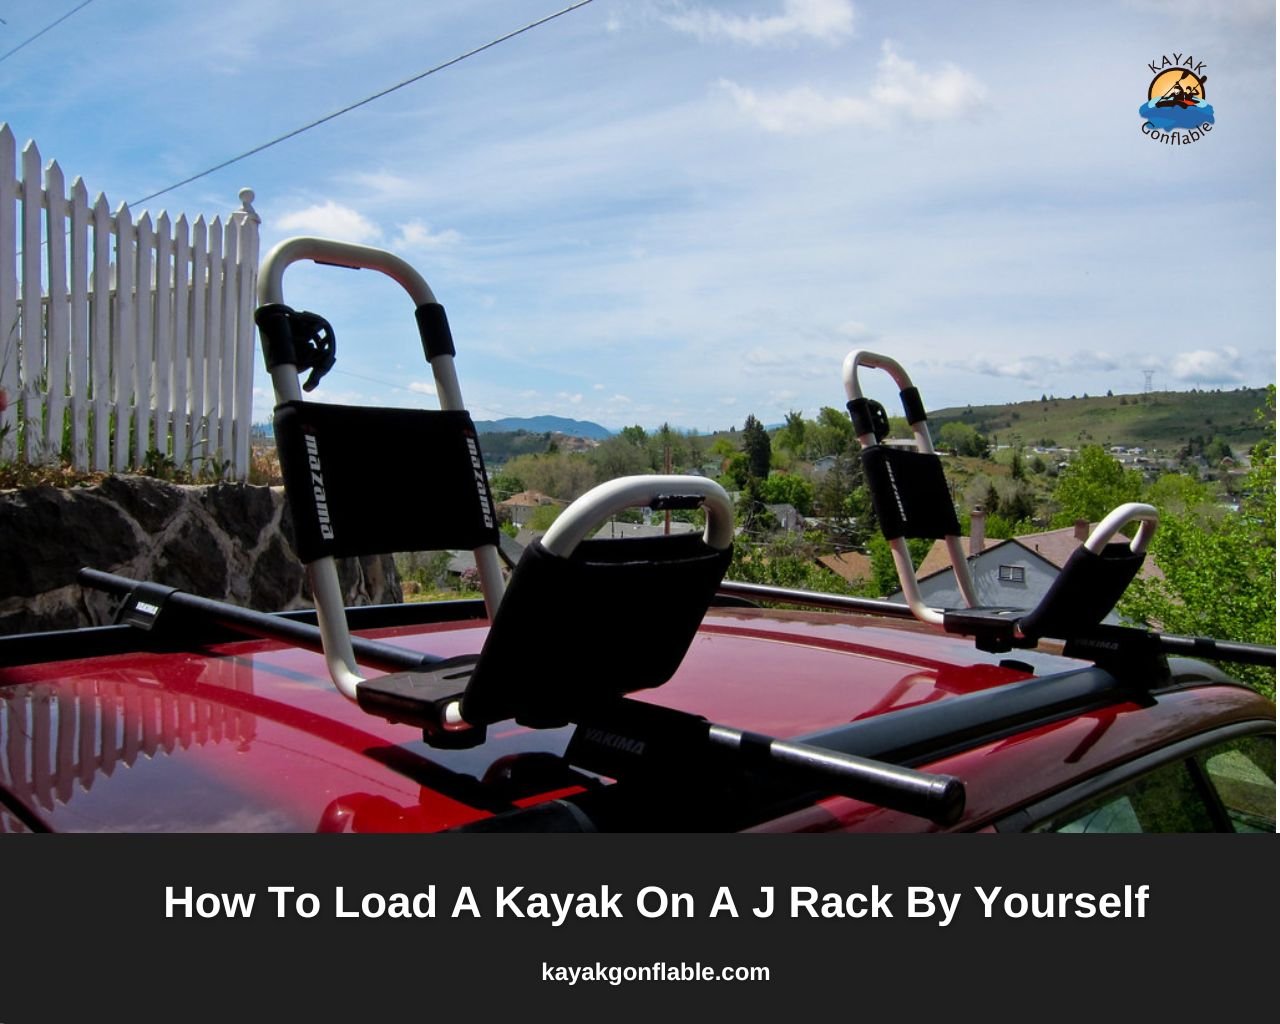
Roof racks are fitted to the top of vehicles, then kayaks are attached to them, and transportation becomes a breeze. One of the most popular types of roof racks is the J rack.
It should thus come as no surprise that knowing how to use one is important knowledge every kayaker should possess, especially if he already has a J rack or is considering using a J rack as an easy and affordable way to transport his watercraft.
All you need to know to successfully make use of a J rack to transport your kayak is available to you in this article. Read on and enjoy!
What Is A J Roof Rack?
A J roof rack is a type of roof rack that is designed to be mounted on the roof of a vehicle. It is typically made from aluminum or steel and consists of two side rails that run from the front to the back of the vehicle and a crossbar that runs across the width of the vehicle.
The J roof rack is named after its J-shaped profile, which helps to provide stability and strength when carrying heavy loads. J roof racks are often used to transport bikes, kayaks, skis, snowboards, and other equipment.
They are typically used by people who participate in outdoor activities such as camping, hiking, and fishing.
The Pros and Cons of the J Roof Rack
As with all things, J racks have pros and cons to using them. If you have yet to purchase a J rack, you might want to look at both to help you decide if this roof rack type is for you.
Pros
If you’re in the market for a new roof rack, you may be wondering if the J roof rack is the right choice for you. Here are some of the pros of choosing a J roof rack:
- They’re easy to install – you can do it yourself in just a few minutes.
- They’re very versatile – you can use them for everything from carrying luggage to transporting kayaks and bikes.
- They’re easy to store – you can easily disassemble them and put them away when they’re not being used.
- They often come with a lifetime warranty for your peace of mind.
- The J roof rack can be used on virtually any vehicle.
- They are one of the most affordable roof racks on the market.
- The J roof rack is very strong and can support a lot of weight.
- It provides the occupants of the vehicle easy access to their luggage.
- It helps keep the car clean by ensuring luggage is kept off the floor.
Cons
The J roof rack is a type of car top carrier that is very popular among car owners. However, there are some cons to using this type of roof rack. Some cons of the J roof rack include:
- It is not as easy to load and offload as some other rack types.
- It could be difficult to install, especially if you don’t have experience installing car top carriers.
- If not properly installed, they can come loose and fall off the vehicle potentially damaging things and causing accidents.
- The J roof rack can decrease your fuel economy because it creates drag on your car.
- It can be noisy when driving on the highway or moving at highway speed, especially if there is nothing on the rack to help deflect the wind.
- It requires a fair amount of maintenance for proper functioning.
Tips For Installing A J Rack
Tips for the successful installation of your J rack are given below.
- Consider your vehicle’s height: While J roof racks are indeed versatile and can be used with virtually any vehicle, you will have to pay special attention to this detail if you are to get the most out of your roof rack. For one, J racks are best suited for small vehicles such as SUVs and smaller cars. This is because loading a J rack requires you to lift the kayak to the height of your vehicle’s roof, so the taller the vehicle, the more difficult it would be to load the roof rack, especially if you lack a kayak lifting device.
- Make sure the J rack is compatible with your vehicle: Still, on the issue of the vehicle upon which you intend to install the roof rack, compatibility is a very important criterion. The first issue here is that for a vehicle to be able to support a J roof rack, it has to already have some crossbars or some sort of roof rack. This is because the J roof rack needs to be installed on a sturdy frame, and the crossbars on a vehicle’s roof are usually the best you can get. The other part of the equation is to make sure the J rack you get fits with the measurements of your vehicle’s roof. While this may seem hilarious, such mistakes do happen, so be sure to double-check the measurements before making the purchase.
- The Orientation of the J rack: By design, J racks have a high side and a low side, with a flat padded area in between where the gunwales of your kayak will rest once it is loaded onto the rack. As you may have guessed, the orientation in which you install the J rack will determine the direction from which you can safely load it. If you install your rack with the higher side facing out and away from the center of the vehicle, you will most likely have to load the rack from the rear of the vehicle. If you, however, install your J rack with the higher side towards the center of the vehicle, you will be loading your kayak onto the roof rack from the sides. We recommend the latter as that way, if you need extra height when loading your kayaks, you can step up on the vehicle’s runner or into the doorway and you will be good to go.
- Follow the instruction manual: Regardless of how experienced you are at such things, we recommend adhering strictly to the instructions you will find in the manual. Failure to do so could lead to serious trouble, so do the smart thing and obey the manufacturer. Read the instruction manual before beginning installation and consult it every step of the way to ensure you are doing things right.
- Tightening the rack: As J racks don’t require much hardware to install, you have to tighten the screws by hand. This is usually good news, but depending on the setup of the crossbars of your vehicle’s roof, you could have a serious problem on your hands. You should make extra sure the screws are well tightened because if you don’t and they aren’t, you could risk the rack rotating while driving, thus compromising the security of the kayaks being transported or worse, the roof rack falling off the roof and damaging your kayak and causing accidents.
- Take your time: Keeping in mind that the roof rack will be used to transport your watercraft and that any slip-up could result in future hassles, it is best to take your time during the installation process to make sure you do everything right. Check and crosscheck all you do to ensure the firmness of the installed contraption, and you will be fine.
- Use caution: Caution is essential when doing anything worthwhile, and is thus essential here. You should be careful when installing the J rack to make sure you don’t damage your roof rack, and you should be careful even when loading your kayak to the roof rack to avoid damaging it.
- Security: If you live somewhere where security is an issue, you may want to consider purchasing a J rack with a locking mechanism. While it will inevitably cost more, it will be worth it knowing that your rack and whatever you store on it are safe.
How To Load A Kayak On A J Rack By Yourself
After purchasing and installing your J rack, you will naturally be desperate to test it. The best way to do so will be to use it for what it was meant for transporting your kayak.
If you have a kayak-lifting device or someone to help you, that’s great! It will make your task easier and save you a lot of trouble.
If you are a solo kayaker, however, or happen to be alone when loading your kayak to your roof rack, knowing how to do so properly is in your best interest.
As several brands exist, instructions on how best to load the J rack will probably be in the instruction manual and you should be good to go.
To help speed up the process, loading a kayak onto a J rack by yourself is explained; both for those who prefer loading their kayak from the side (as recommended) and those who prefer loading their kayaks from the rear.
Positioning the Kayak
Regardless of whether you prefer loading your kayak from the side or the rear, the first step to successfully loading the kayak is to position it properly.
This refers to placing the kayak in an advantageous position such that lifting the kayak onto the roof rack becomes easier, and you have a lower chance of dropping the watercraft and damaging it or worse, injuring yourself.
As you can imagine, the optimum position varies with the kayak and roof rack type. Generally, however, the optimum position for loading a kayak to a J rack is to place it on the ground with its face up.
Loading From The Side
In this loading style, you are to lift the kayak off the ground, and then rotate the kayak toward you as you go up. For proper execution, you are to position the kayak on the ground with the bow facing the direction in which you will move after lifting the kayak.
You are to bend your knees and squat down while maintaining a straight back. Grabbing the rim of the kayak closest to you, you should rise, still keeping your knees bent and your back straight, then place the kayak on your thighs.
You should then reach for the other rim of the kayak and grabbing hold of it, roll the kayak as you bring it to rest on your shoulder.
Make sure the rim of the kayak rests on your shoulder, and you keep your back straight. Now you can move to the car and gently load the kayak onto the J rack.
Tip: Wearing your Personal Flotation Device during the lifting will help provide a cushion for your shoulders, reducing the overall stress you put on your body.
While this will indeed help you load your kayak solo, it can be very difficult, especially if you own a heavy kayak or if you are a small paddler. That is why loading from the side is easiest when you have a partner.
If you have a partner, you should first position the kayak on the ground, then position yourselves on the same side of the kayak at either of its ends (the bow and stern).
Then bending your knees and squatting down, you should both grab the rim closest to you, then lift the kayak to your thighs. Remember to keep your back straight.
As you lift the kayak from your thighs and rise, you will need to coordinate your movements so you can set the gunwale of the kayak onto the J rack.
If one of you is taller, he should set his end of the kayak on the J rack first. That way, he can easily help swing the other part of the kayak into position, and you will be good to go.
Loading with a partner requires communication and synchronization, so be sure you have a good deal of both, or you could damage the kayak.
Loading From The Rear
As you probably guessed, this technique is better suited to solo kayakers and is a great alternative to loading a heavy kayak from the side. As with the previous technique, you start by positioning the kayak on the ground face up.
You then align the bow of the kayak with the bumper of the vehicle and place pads underneath the stern of the kayak. The pads help protect the stern from damage as you lift the kayak’s bow into the J rack.
As you will be sliding the kayak forward, it is smart to put pads two or three feet forward from the stern to ensure maximum protection.
Once all is set, you can lift the bow onto the J rack. The bow must be securely set in the channel of the J rack before lifting the stern as if not, you risk the kayak sliding down and getting damaged.
Once you are sure the bow is secured, move to the stern. You should carefully lift the stern as you push forward and rotate the kayak so that the gunwale sets into the channel of the rack.
The rotation and setting of the gunwale are important as once achieved, it becomes easier to slide the kayak forward. If you have a longer vehicle, you may want to position the kayak at an angle to the rear of the vehicle as opposed to the parallel setting.
That way, you will be able to apply more force and push the kayak to the center of the vehicle’s roof. This technique also reduces the chances of your kayak sliding off once it is in place.
If you’re an avid kayaker, you know the importance of being able to load your kayak onto your car by yourself. This becomes especially important if you’re going on a solo trip.
While it may seem daunting at first, loading a kayak on a J rack by yourself is quite easy once you know how. With a little practice, you’ll be able to load your kayak by yourself in no time.
After loading the kayak, make sure you secure it with straps or strong rope, then obey all transportation rules while on the road. Always employ safe kayaking practices and have fun on the water. Thanks for reading.