How To Transport A Kayak Without A Roof Rack

Watersports have been all the rage in recent years with kayaking, a sport that entails navigating a narrow watercraft with a double-bladed paddle, being a major focus for enthusiasts.
Kayaking is impossible without a kayak, so it is no surprise that once a person falls in love with the sport, they start making plans to own a kayak. Owning a kayak, however, comes with certain responsibilities, one of which is transporting the kayak.
Transporting kayaks is non-negotiable as you need to get the vessel to the water to be able to kayak and back home for storage once you are done paddling for the day. As you can imagine, transporting kayaks is not always easy because of their shape and weight.
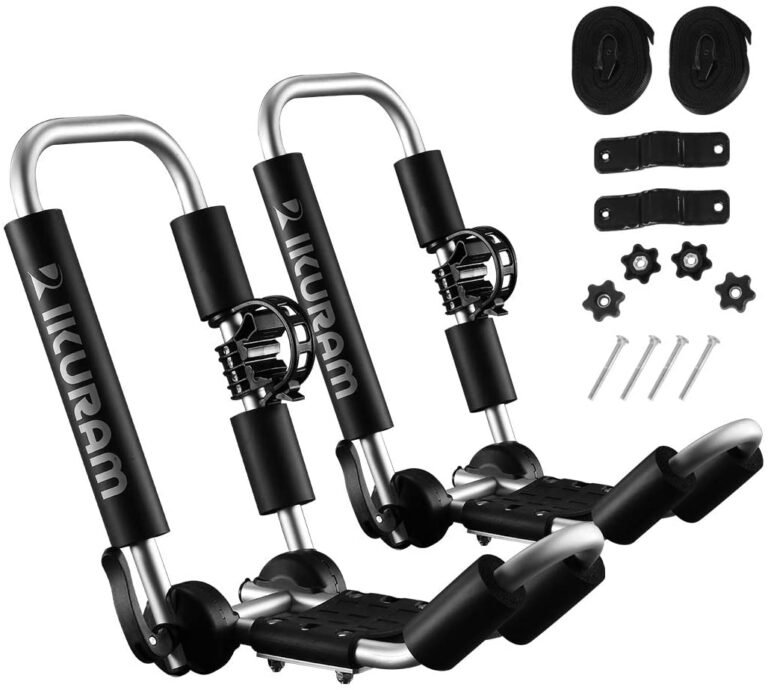
One main solution to the issue of transporting kayaks is to make use of a kayak roof rack. The rack is fitted to the roof of your vehicle, then you can load your kayak onto the rack, secure it, and be on your way.
The truth is that for one reason or the other, you may not own a roof rack and still have to transport your vessel. This article comes to your rescue, providing easy ways to transport your kayak without the use of a roof rack.
Making Use of A Kayak Cart Or Trolley
If you want an easy transport method with as little stress as possible, then a kayak cart is the way to go. A kayak cart is a small lightweight frame with wheels that attaches to the hull of your kayak, making it easy to transport the vessel from one place to the other.
One main advantage of kayak carts is that they are suitable for both short distances (like when portaging your kayak) and long-distance travel, making them the ideal kayak transport solution.
Trolleys also eliminate the need to lift a kayak to shoulder height as is often the case when transporting kayaks with a roof rack, so there is the benefit of having less strain on your body while transporting your kayak.
Kayak carts naturally come in several brands, so it is up to you to make the right choice. Your cart should be chosen based on your interests, the terrain you will be using it on, and your kayak.
If you are journeying a short distance, you can simply attach the kayak to the cart and then tug it to your destination. The way you attach the kayak to the trolley depends on the make of the cart, so you have to consult your instructions manual to make sure you do everything right.
If you are going a long way, however, you should make sure your kayak cart can be attached to your vehicle. You can typically attach your cart to your vehicle by using the towing hook or bar for the anchor point.
Again, you will want to consult the instruction manual of your cart to ensure you are doing everything right. After attaching the kayak cart to your vehicle and loading and securing the kayak, you are ready to hit the road.
Towing your kayak with a cart doubles the length of your vehicle, so you will want to be careful as you drive to make sure you don’t accidentally damage your kayak or worse, cause accidents on the road. That means you will want to abide by all traffic rules while driving responsibly.
Perhaps the only downside of using a kayak cart or trolley to transport your vessel is that since it doubles the length of your vehicle, it drastically limits the parking spots available to you.
This may not seem like much, but it can suck if you have to pack further away from your launching point than you intended which is usually the case if you are going to a popular kayaking spot.
The good news is that over the years, kayak carts have been modified to account for that. If the distance to the water after packing your vehicle is not much, you can simply pack the cart into your vehicle before hitting the water.
But if the distance is considerable, you simply have to tow the kayak to the water with the cart. You can then pack the cart and store it in either the bow or stern storage of your kayak and start your adventure.
Regardless of how you look at it, transporting your kayak with a kayak cart is a worthwhile investment. So what are you waiting for? Get a kayak cart today and start your kayaking adventure.
Transporting The Kayak Inside A Vehicle
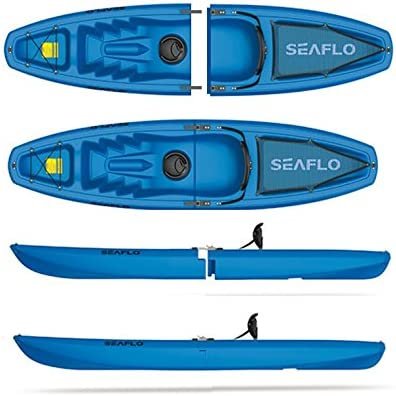
Due to the length and size of kayaks, they are usually transported on the roof of vehicles or in kayak carts. It is, however, crucial to note that kayaks can also be transported inside vehicles.
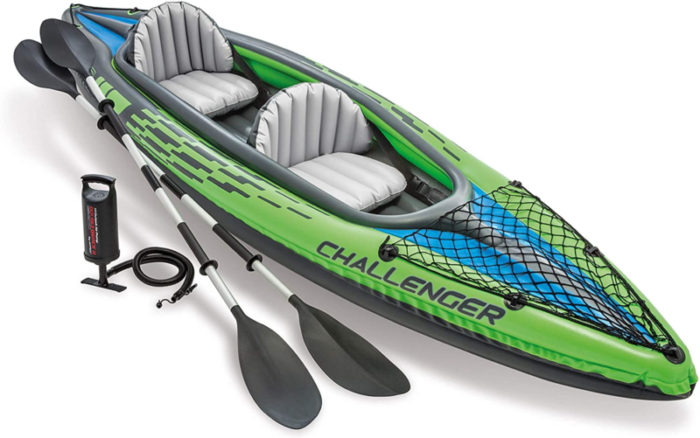
If you have an inflatable kayak, the task is easy. You simply have to deflate your vessel then load it into the trunk of your vehicle, and you are good to go.
If you have a rigid kayak, however, and wish to transport it inside your vehicle, your kayak should not be more than 10 feet long (if it’s a rigid kayak), and you should probably own a Sport Utility Vehicle (SUV).
If you want to transport your kayak inside your vehicle and want the vessel to be more than 10 feet long, you should procure yourself a foldable kayak.
Tips
- The first step to successfully transporting your kayak in your SUV is ensuring there is enough space for the kayak inside the vehicle. This can be achieved by folding the seats of the vehicle to create enough room for the watercraft.
- After folding the seats of your vehicle, you can load the kayak into the SUV. Loading the kayak should be done with care and with the help of a partner if possible to ensure you load the vessel into the vehicle without damaging the kayak, the SUV, or injuring yourself. You should gently slide the kayak on its side into the vehicle until its nose rests between the two front seats.
- You should take care when loading the kayak and make sure it does not get too close to the windshields of the vehicle. You don’t want it sliding forward and cracking the windshield if it gets loose.
- Make sure you deflate or fold your kayak (depending on the type you own) before loading it into the vehicle.
- Make sure at least two-thirds of the kayak is inside the vehicle after loading it. Better yet, you should ensure that not more than three feet of the kayak sticks outside after loading it. This is to ensure the kayak stays inside the vehicle with no risk of falling out.
- Once the kayak is properly loaded, you should secure it to the vehicle. This part is very important as a poor job could be costly in an accident. Having a kayak burst from your windshield during a collision is a sure way to worsen a mishap. The kayak should be secured with straps, bungee cords, or other strong rope available such that it is not able to move in any direction. You should not tighten it too much however to avoid damaging your vessel.
- Next, you should secure the backdoor of the SUV. If you own a short kayak, it will probably not protrude from the vehicle so this should be an easy task. If your kayak protrudes from the vehicle, you will have to put more effort into securing it. You can use ratchet straps to secure the kayak to the backdoor and ensure it stays put.
- If your kayak protrudes from your vehicle, you have to attach a bright-colored flag to the protruding end so that other road users will quickly notice the protrusion and avoid accidents.
- Drive safely and responsibly to your destination adhering to all traffic and kayak transportation regulations in your state.
- Have fun on the water.
Transporting The Kayak On The Roof Of Your Vehicle
If you are fond of transporting things on the roof of your vehicle, you are probably wondering if you can transport your kayak on your vehicle’s roof without a roof rack. Fret not, just below is an easy way to easily transport your kayak on your roof rack at little cost.
What You’ll Need
You need just two things to successfully transport your kayak on your car roof without a roof rack. They are:
- Pool noodles: You read that right, you need pool noodles or similar materials to provide padding for your car and kayak. The pool noodles must be heavy-duty, thick, and large enough to cover the width of your vehicle. You can find pool noodles in supermarkets, hardware stores, automotive stores, and outdoor stores.
NB: Whatever you do, do not use foam blocks for padding if you can help it. This is because while effective, they can be more difficult to secure due to their shape, and they are also more prone to moving which could backfire if you make a mistake when securing them and lead to a damaged kayak or worse.
- Cam buckles or ratchet straps: You guessed right, you need these to secure the kayak to the roof of the vehicle after loading it. The number of buckles or straps you use will depend on how secure you want the kayak to be and the number of kayaks you will be transporting. Cam buckles or ratchet straps can be found in automotive stores, supermarkets, and hardware stores.
Procedure
The steps required to successfully make your own kayak roof rack with pool noodles and transport your kayak with it are given below.
Step 1: Place and Secure The Pool Noodles On Your Car’s Roof
To prevent damage to your kayak hull and the roof of your vehicle, you need padding and that is why you need pool noodles. The pool noodles should be thick and heavy-duty.
They should also be large enough to cover the width of the roof of your vehicle without significantly protruding from either side. If your pool noodles are too long, you will need to trim them to fit.
The pool noodles should be placed on the vehicle roof such that there is one at each end of the roof and one in the middle of the roof.
Depending on how long your roof is, how much you can spare, and how safe you want the kayak to be, you can put additional pool noodles on your car roof making sure that they remain balanced.
Once the pool noodles are in place, you should run ratchet straps through them and the inside of your car via the open doors before securing them in place.
Step 2: Load The Kayak onto The Prepared Vehicle Roof
After securing the pool noodles, you can proceed with loading the kayak onto the roof of your vehicle. This step is both important and dangerous, so you want to be careful when loading your kayak onto the vehicle roof.
If you are confident you can do it alone, you should lift and then load the kayak on the pool noodles, but if you are not certain, you should get a helping hand, particularly if you own a heavy kayak.
How you load the kayak depends on your kayak type and the shape of the kayak’s hull. For instance, if your kayak’s hull is more curved than usual, you may find it safer to load the kayak upside down to the car roof.
The kayak should also be loaded perpendicularly to the pool noodles with the bow or stern facing the front of the vehicle.
After loading the kayak, it is good practice to lift parts of the kayak and ensure the pool noodles are parallel to each other. You may also want to have the center of the kayak rest on the central pool noodle.
Step 3: Securing The Kayak
Naturally, the next step of this adventure is securing your kayak to the roof of your vehicle and this is where your ratchet straps play their role. With your car doors open, you should pass a strap over a part of the kayak and secure the two parts of the straps inside your vehicle.
Repeat this procedure for different parts of the kayak until it is impossible for the watercraft to move sideways. While passing the straps through your vehicle, you should twist them to keep them from making a high-pitched howling sound when you are driving.
Twisting the straps can also help reduce air resistance. Be careful about overtightening, you don’t want to damage your kayak or vehicle roof unnecessarily.
You should also ensure the buckles are in easily reached places so they can be adjusted on the fly. If you are traveling in a cold climate, you will have to check the straps often as they are prone to loosening.
Step 4: Securing The Bow and Stern
The last part of this transport method is securing the bow and stern of your kayak so the vessel can’t move forward or backward even if you brake suddenly.
This can be done by simply running a strap through the bow and stern handle or toggle of the kayak, then securing each strap to a tie-down spot underneath your vehicle with a carabiner or hook.
The tie-down spot is usually the tow anchor of your vehicle. Once again you want to be careful when tightening the kayak, so you don’t damage your watercraft in the process.
Step 5: Drive Safely To Your Destination
After successfully securing your kayak to the roof of your vehicle, you are ready to hit the road. It is best if you plan your route ahead of time and pick a time with as little traffic as possible.
You are also advised to be knowledgeable on kayak transportation laws in your state to make sure you don’t break one due to ignorance and have your trip cut short.
Drive safely and responsibly to your destination adhering to all traffic and kayak transportation laws. Once at your destination, hit the water and have fun kayaking. Transporting kayaks from place to place is one of the main challenges kayak owners have, as kayaks can be bulky and unwieldy.
Though kayak racks provide a great way to safely transport your kayak, they are not always available and you must make do with the resources at hand. Some great ways you can transport your kayak include making use of a kayak cart, loading the watercraft into your vehicle, and loading the kayak onto the roof of your vehicle.
Kayak carts provide a relatively easy and stress-free kayak transport method, ensuring you can transport your kayak over long and short distances regardless of the terrain.
Transporting kayaks inside vehicles enables you to easily transport your kayak without having to lift it to shoulder height, though it works best if you own a short kayak.
Transporting your kayak on the roof of your vehicle frees up space in the vehicle for you to bring other things. Regardless of the method you choose, get your vessel to the water and have fun.